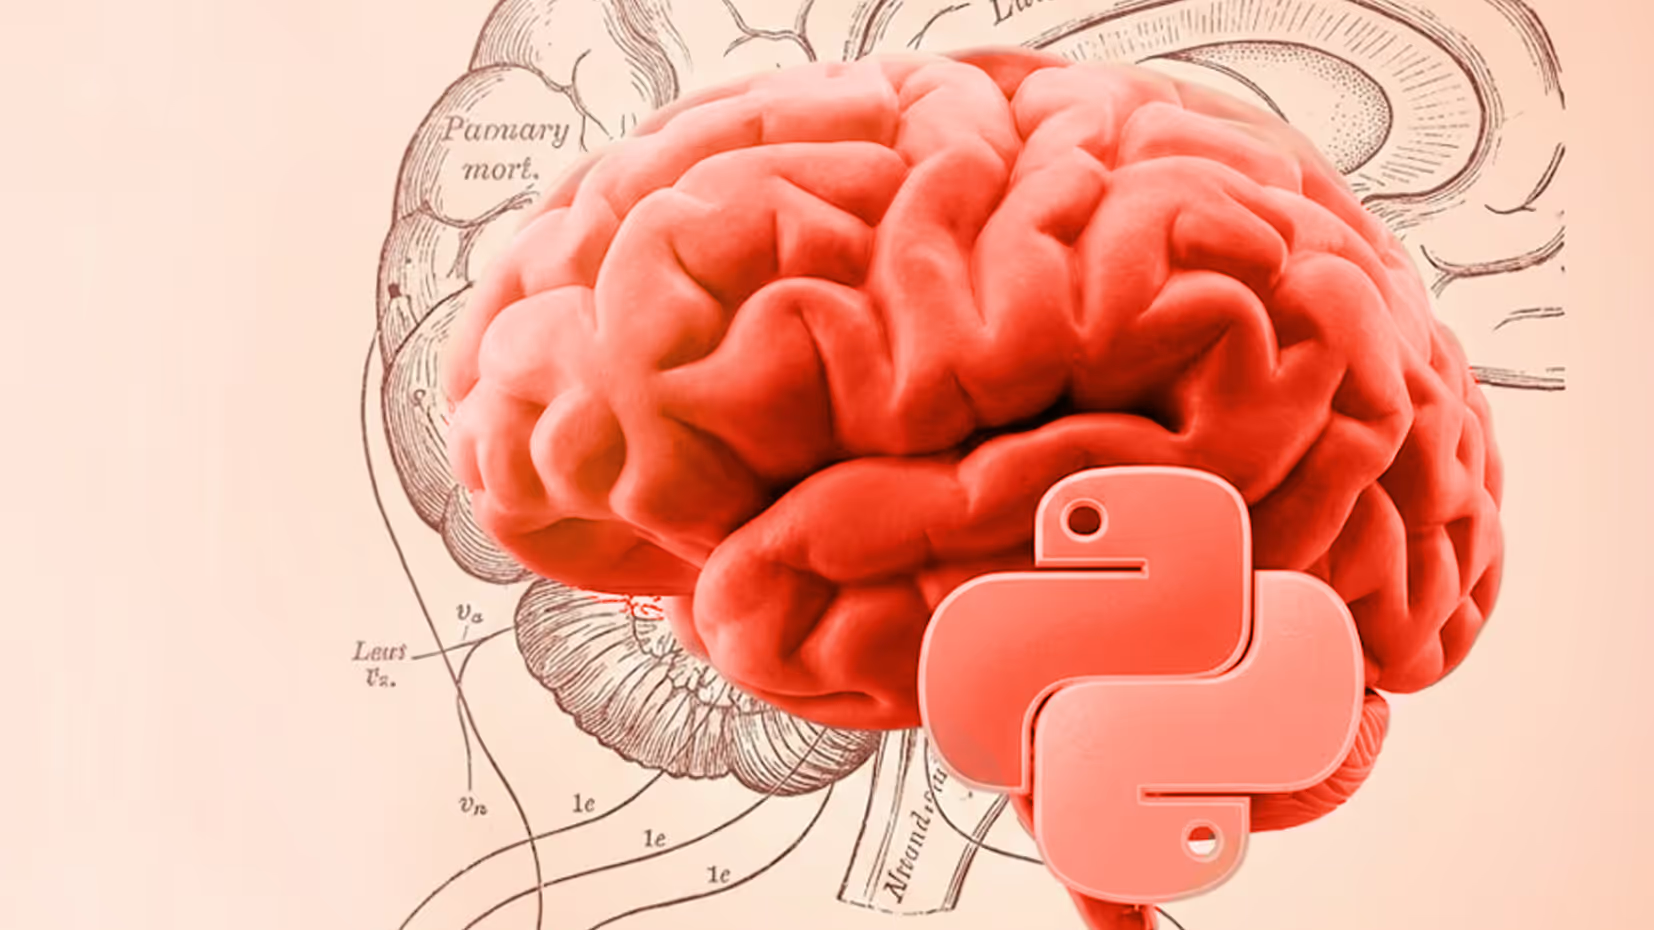
BCI Kickstarter #04 : Python for BCI: Getting Started
Welcome back to our BCI crash course! We've journeyed through the fundamental concepts of BCIs, delved into the intricacies of the brain, and explored the art of processing raw EEG signals. Now, it's time to empower ourselves with the tools to build our own BCI applications. Python, a versatile and powerful programming language, has become a popular choice for BCI development due to its rich ecosystem of scientific libraries, ease of use, and strong community support. In this post, we'll set up our Python environment and introduce the essential libraries that will serve as our BCI toolkit.
Setting Up Your Python BCI Development Environment: Building Your BCI Lab
Before we can start coding, we need to lay a solid foundation by setting up our Python BCI development environment. This involves choosing the right Python distribution, managing packages, and selecting an IDE that suits our workflow.
Choosing the Right Python Distribution: Anaconda for BCI Experimentation
While several Python distributions exist, Anaconda stands out as a particularly strong contender for BCI development. Here's why:
- Ease of Use: Anaconda simplifies package management and environment creation, streamlining your workflow.
- Conda Package Manager: Conda provides a powerful command-line interface for installing, updating, and managing packages, ensuring you have the right tools for your BCI projects.
- Pre-installed Scientific Libraries: Anaconda comes bundled with essential scientific libraries like NumPy, SciPy, Matplotlib, and Jupyter Notebooks, eliminating the need for separate installations.
You can download Anaconda for free from https://www.anaconda.com/products/distribution.
Managing Packages with Conda: Your BCI Arsenal
Conda, the package manager included with Anaconda, will be our trusty sidekick for managing the libraries and dependencies essential for our BCI endeavors. Here are some key commands:
- Installing Packages: To install a specific package, use the command conda install <package_name>. For example, to install the MNE library for EEG analysis, you would run conda install -c conda-forge mne.
- Creating Environments: Environments allow you to isolate different projects and their dependencies, preventing conflicts between packages. To create a new environment, use the command conda create -n <environment_name> python=<version>. For example, to create an environment named "bci_env" with Python 3.8, you'd run conda create -n bci_env python=3.8.
- Activating Environments: To activate an environment and make its packages available, use the command conda activate <environment_name>. For our "bci_env" example, we'd run conda activate bci_env.
Essential IDEs (Integrated Development Environments): Your BCI Control Panel
An IDE provides a comprehensive environment for writing, running, and debugging your Python code. Here are some excellent choices for BCI development:
- Spyder: A user-friendly IDE specifically designed for scientific computing. Spyder seamlessly integrates with Anaconda, offers powerful debugging features, and provides a convenient variable explorer for inspecting your data.
- Jupyter Notebooks: Jupyter Notebooks are ideal for interactive code development, data visualization, and creating reproducible BCI workflows. They allow you to combine code, text, and visualizations in a single document, making it easy to share your BCI projects and results.
- Other Options: Other popular Python IDEs, such as VS Code, PyCharm, and Atom, also offer excellent support for Python development and can be customized for BCI projects.
Introduction to Key Libraries: Your BCI Toolkit
Now that our Python environment is set up, it's time to equip ourselves with the essential libraries that will power our BCI adventures. These libraries provide the building blocks for numerical computation, signal processing, visualization, and EEG analysis, forming the core of our BCI development toolkit.
NumPy: The Foundation of Numerical Computing
NumPy, short for Numerical Python, is the bedrock of scientific computing in Python. Its powerful n-dimensional arrays and efficient numerical operations are essential for handling and manipulating the vast amounts of data generated by EEG recordings.
- Efficient Array Operations: NumPy arrays allow us to perform mathematical operations on entire arrays of EEG data with a single line of code, significantly speeding up our analysis. For example, we can calculate the mean amplitude of an EEG signal across time using np.mean(eeg_data, axis=1), where eeg_data is a NumPy array containing the EEG recordings.
- Array Creation and Manipulation: NumPy provides functions for creating arrays of various shapes and sizes (np.array(), np.zeros(), np.ones()), as well as for slicing, indexing, reshaping, and combining arrays, giving us the flexibility to manipulate EEG data efficiently.
- Mathematical Functions: NumPy offers a wide range of mathematical functions optimized for array operations, including trigonometric functions (np.sin(), np.cos()), linear algebra operations (np.dot(), np.linalg.inv()), and statistical functions (np.mean(), np.std(), np.median()), all essential for analyzing and processing EEG signals.
SciPy: Building on NumPy for Scientific Computing
SciPy, built on top of NumPy, expands our BCI toolkit with advanced scientific computing capabilities. Its modules for signal processing, statistics, and optimization are particularly relevant for EEG analysis.
- Signal Processing (scipy.signal): This module provides a treasure trove of functions for analyzing and manipulating EEG signals. For example, we can use scipy.signal.butter() to design digital filters for removing noise or isolating specific frequency bands, and scipy.signal.welch() to estimate the power spectral density of an EEG signal.
- Statistics (scipy.stats): This module offers a comprehensive set of statistical functions for analyzing EEG data. We can use scipy.stats.ttest_ind() to compare EEG activity between different experimental conditions, or scipy.stats.pearsonr() to calculate the correlation between EEG signals from different brain regions.
- Optimization (scipy.optimize): This module provides algorithms for finding the minimum or maximum of a function, which can be useful for fitting mathematical models to EEG data or optimizing BCI parameters.
Matplotlib: Visualizing Your BCI Data
Matplotlib is Python's go-to library for creating static, interactive, and animated visualizations. It empowers us to bring our BCI data to life, exploring patterns, identifying artifacts, and communicating our findings effectively.
- Basic Plotting Functions: Matplotlib's pyplot module provides a simple yet powerful interface for creating various plot types, including line plots (plt.plot()), scatter plots (plt.scatter()), histograms (plt.hist()), and more. For example, we can visualize raw EEG data over time using plt.plot(eeg_data.T), where eeg_data is a NumPy array of EEG recordings.
- Customization Options: Matplotlib offers extensive customization options, allowing us to tailor our plots to our specific needs. We can add labels, titles, legends, change colors, adjust axes limits, and much more, making our visualizations clear and informative.
- Multiple Plot Types: Matplotlib supports a wide range of plot types, including bar charts, heatmaps, contour plots, and 3D plots, enabling us to explore our BCI data from different perspectives.
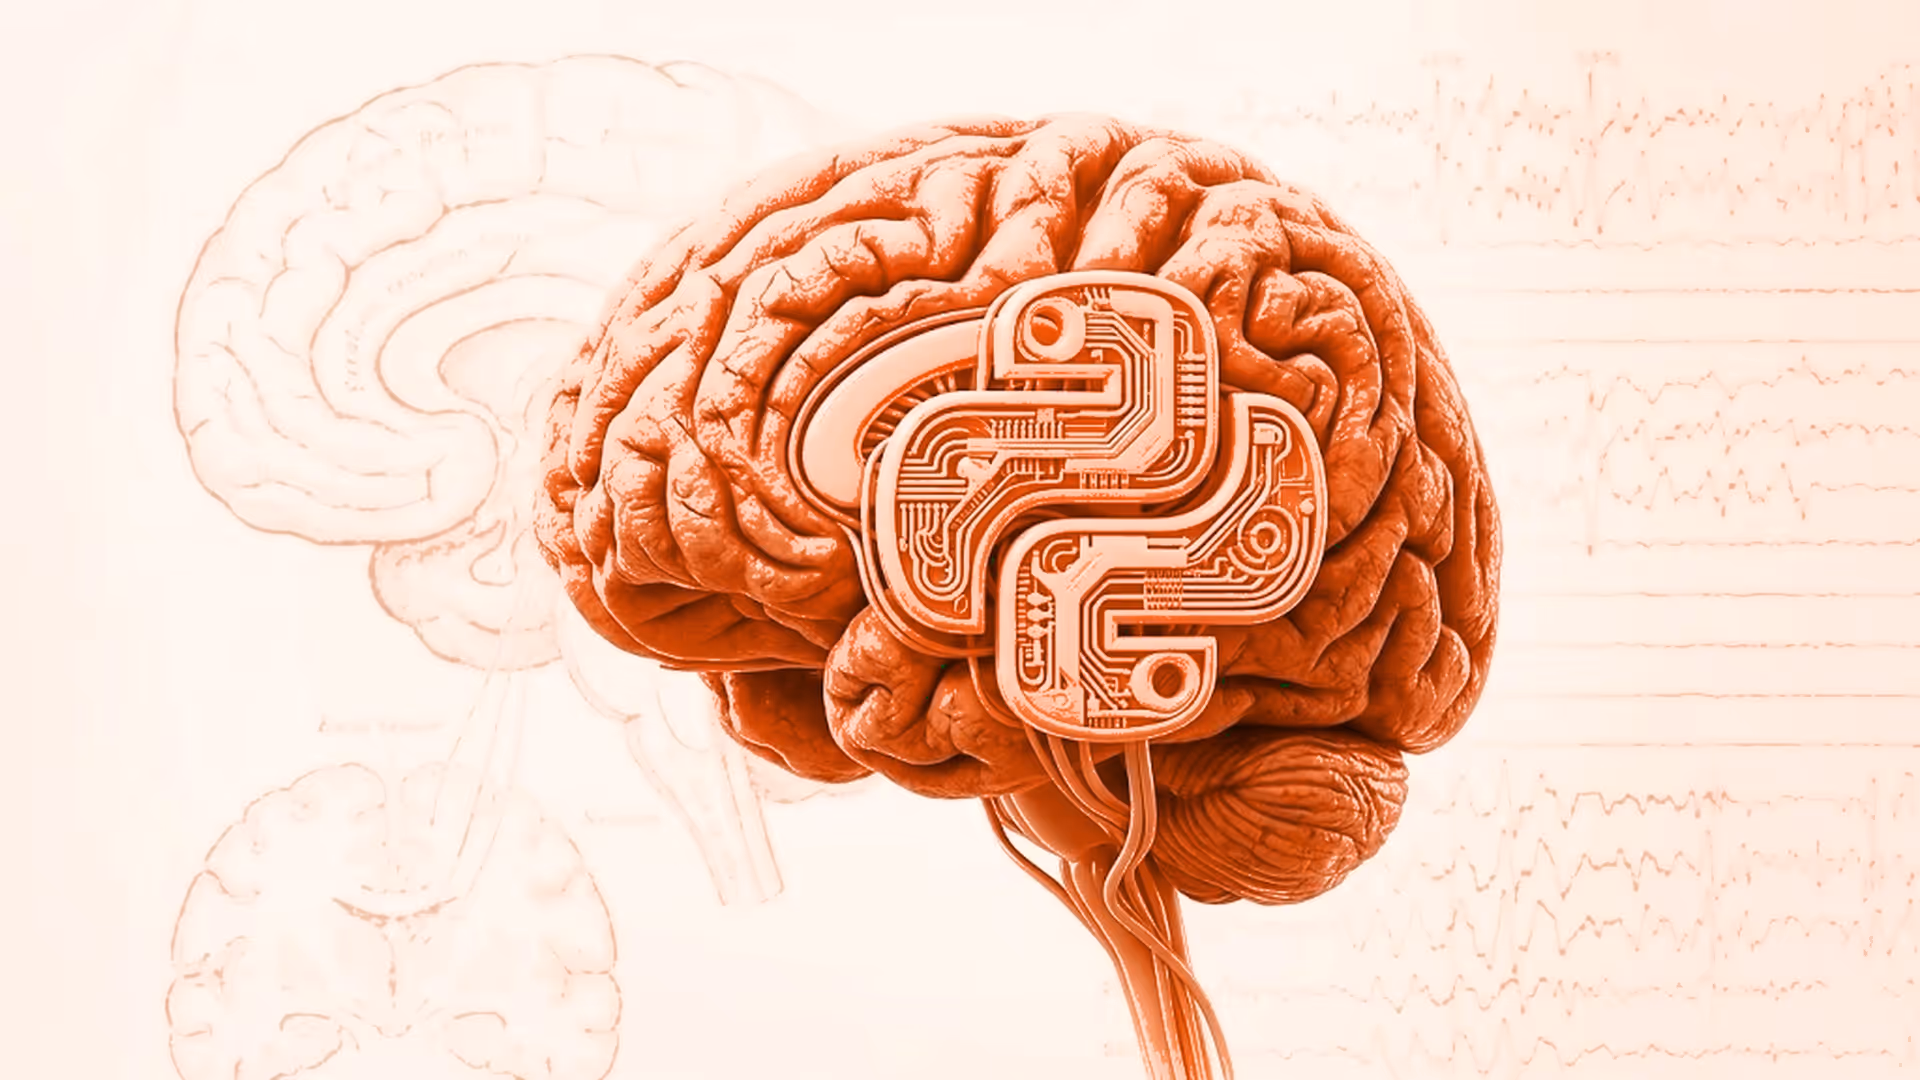
MNE-Python: The EEG and MEG Powerhouse
MNE-Python is a dedicated Python library specifically designed for analyzing EEG and MEG data. It provides a comprehensive suite of tools for importing, preprocessing, visualizing, and analyzing these neurophysiological signals, making it an indispensable companion for BCI development.
- Importing and Reading EEG Data: MNE-Python seamlessly handles various EEG data formats, including FIF and EDF. Its functions like mne.io.read_raw_fif() and mne.io.read_raw_edf() make loading EEG data into our Python environment a breeze.
- Preprocessing Prowess: MNE-Python equips us with a powerful arsenal of preprocessing techniques to clean up our EEG data. We can apply filtering (raw.filter()), artifact removal (raw.interpolate_bads()), re-referencing (raw.set_eeg_reference()), and other essential steps to prepare our data for analysis and BCI applications.
- Epoching and Averaging: MNE-Python excels at creating epochs, time-locked segments of EEG data centered around specific events (e.g., stimulus presentation, user action). Its mne.Epochs() function allows us to easily define epochs based on event markers, apply baseline correction, and reject noisy trials. We can then use epochs.average() to compute the average evoked response across multiple trials, revealing event-related potentials (ERPs) with greater clarity.
- Source Estimation: MNE-Python provides advanced tools for estimating the sources of brain activity from EEG data. This involves using mathematical models to infer the locations and strengths of electrical currents within the brain that generate the scalp-recorded EEG signals.
We will cover some of MNE-Python’s relevant functions in greater depth in the following section.
Other Relevant Libraries
Beyond the core libraries, a vibrant ecosystem of Python packages expands our BCI development capabilities:
- Scikit-learn: Scikit-learn's wide range of algorithms for classification, regression, clustering, and more are invaluable for training BCI models to decode user intent, predict mental states, or control external devices.
- PyTorch/TensorFlow: Deep learning frameworks like PyTorch and TensorFlow provide the foundation for building sophisticated neural network models. These models can capture complex patterns in EEG data and achieve higher levels of accuracy in BCI tasks.
- PsychoPy: For creating BCI experiments and presenting stimuli, PsychoPy is a powerful library that simplifies the design and execution of experimental paradigms. It allows us to control the timing and presentation of visual, auditory, and other stimuli, synchronize with EEG recordings, and collect behavioral responses, streamlining the entire BCI experiment pipeline.
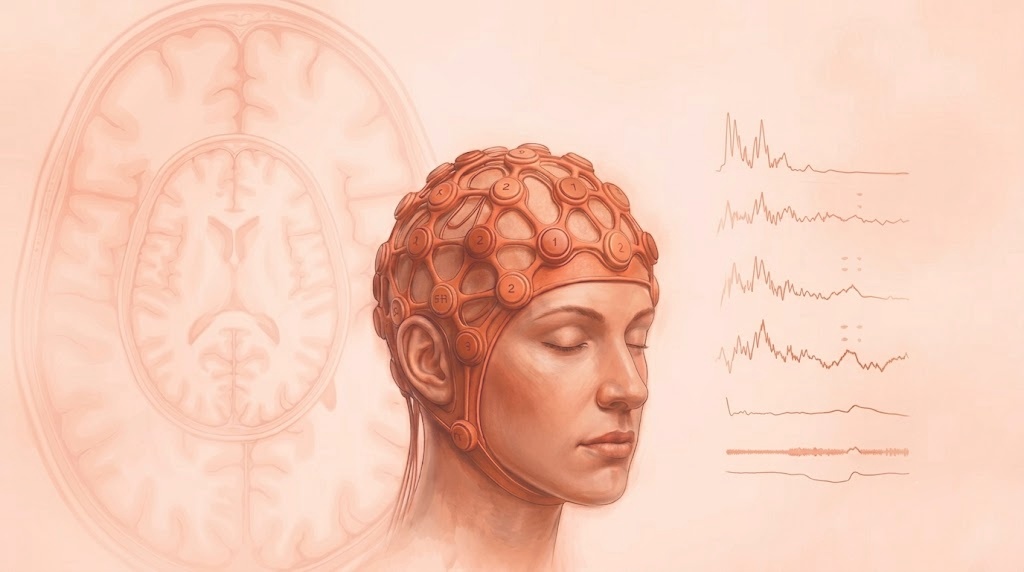
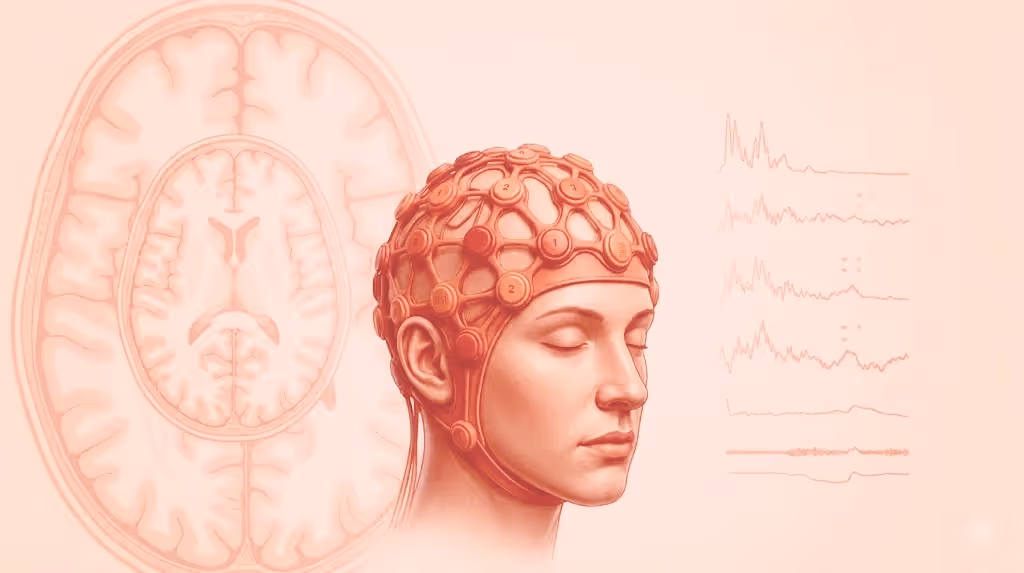
Loading and Visualizing EEG Data: Your First Steps
Now that we've acquainted ourselves with the essential Python libraries for BCI development, let's put them into action by loading and visualizing EEG data. MNE-Python provides a streamlined workflow for importing, exploring, and visualizing our EEG recordings.
Loading EEG Data with MNE: Accessing the Brainwaves
MNE-Python makes loading EEG data from various file formats effortless. Let's explore two approaches:
Using Sample Data: A Quick Start with MNE
MNE-Python comes bundled with sample EEG datasets, providing a convenient starting point for exploring the library's capabilities. To load a sample dataset, use the following code:
import mne
# Load the sample EEG data
data_path = mne.datasets.sample.data_path()
raw_fname = data_path + '/MEG/sample/sample_audvis_filt-0-40_raw.fif'
raw = mne.io.read_raw_fif(raw_fname, preload=True)
# Set the EEG reference to the average
raw.set_eeg_reference('average')
This code snippet loads a sample EEG dataset recorded during an auditory and visual experiment. The preload=True argument loads the entire dataset into memory for faster processing. We then set the EEG reference to the average of all electrodes, a common preprocessing step.
Importing Your Own Data: Expanding Your EEG Horizons
MNE-Python supports various EEG file formats. To load your own data, use the appropriate mne.io.read_raw_ function based on the file format:
- FIF files: mne.io.read_raw_fif('<filename.fif>', preload=True)
- EDF files: mne.io.read_raw_edf('<filename.edf>', preload=True)
- Other formats: Refer to the MNE-Python documentation for specific functions and parameters for other file types.
Visualizing Raw EEG Data: Unveiling the Electrical Landscape
Once our data is loaded, MNE-Python offers intuitive functions for visualizing raw EEG recordings:
Time-Domain Visualization: Exploring Signal Fluctuations
The raw.plot() function provides an interactive window to explore the raw EEG data in the time domain:
# Visualize the raw EEG data
raw.plot()
This visualization displays each EEG channel as a separate trace, allowing us to visually inspect the signal for artifacts, identify patterns, and get a sense of the overall activity.
Power Spectral Density (PSD): Unveiling the Frequency Content
The raw.plot_psd() function displays the Power Spectral Density (PSD) of the EEG signal, revealing the distribution of power across different frequency bands:
# Plot the Power Spectral Density
raw.plot_psd(fmin=0.5, fmax=40)
This visualization helps us identify dominant frequencies in the EEG signal, which can be indicative of different brain states or cognitive processes. For example, we might observe increased alpha power (8-12 Hz) during relaxed states or enhanced beta power (12-30 Hz) during active concentration.
Your BCI Journey Begins with Python
Congratulations! You've taken the first steps in setting up your Python BCI development environment and exploring the power of various Python libraries, especially MNE-Python. These libraries provide the essential building blocks for handling EEG data, performing signal processing, visualizing results, and ultimately creating your own BCI applications.
As we continue our BCI crash course, remember that Python's versatility and the wealth of resources available make it an ideal platform for exploring the exciting world of brain-computer interfaces.
Further Reading and Resources
- MNE-Python documentation and tutorials: https://mne.tools/stable/documentation/index.html
- Other Python GitHub repos from https://bciwiki.org/index.php/Category:GitHub_Repos
From Libraries to Action: Time to Process Some Brainwaves!
This concludes our introduction to Python for BCI development. In the next post, we'll dive deeper into signal processing techniques in Python, learning how to apply filters, create epochs, and extract meaningful features from EEG data. Get ready to unleash the power of Python to unlock the secrets hidden within brainwaves!
Further reading


Subscribe to Neurotech Pulse
A roundup of the latest in neurotech covering breakthroughs, products, trials, funding, approvals, and industry trends straight to your inbox.